Along with delicious coffee provided by our in-house Coffee Barista, Dave Neal, and scrumptious treats we enjoyed a great conversation at our mini-session which focused on a couple of quick tips for formatting syllabi using Microsoft Word.
When we structure a document using headings it creates a visually distinct and semantically unique structure that provides a few benefits:
- logical flow
- improved readability
- improved understanding
Those who might have cognitive challenges, organizational challenges and those who use assistive technologies (screen readers, Read Write & Gold, Kurzwell, etc) may find a structured document much easier to consume. Assistive technologies, in particular, benefit from this practice as doing so allows users to navigate by:
- viewing a list of headings
- reading or jumping through a document by headings
- choosing document sections by headings
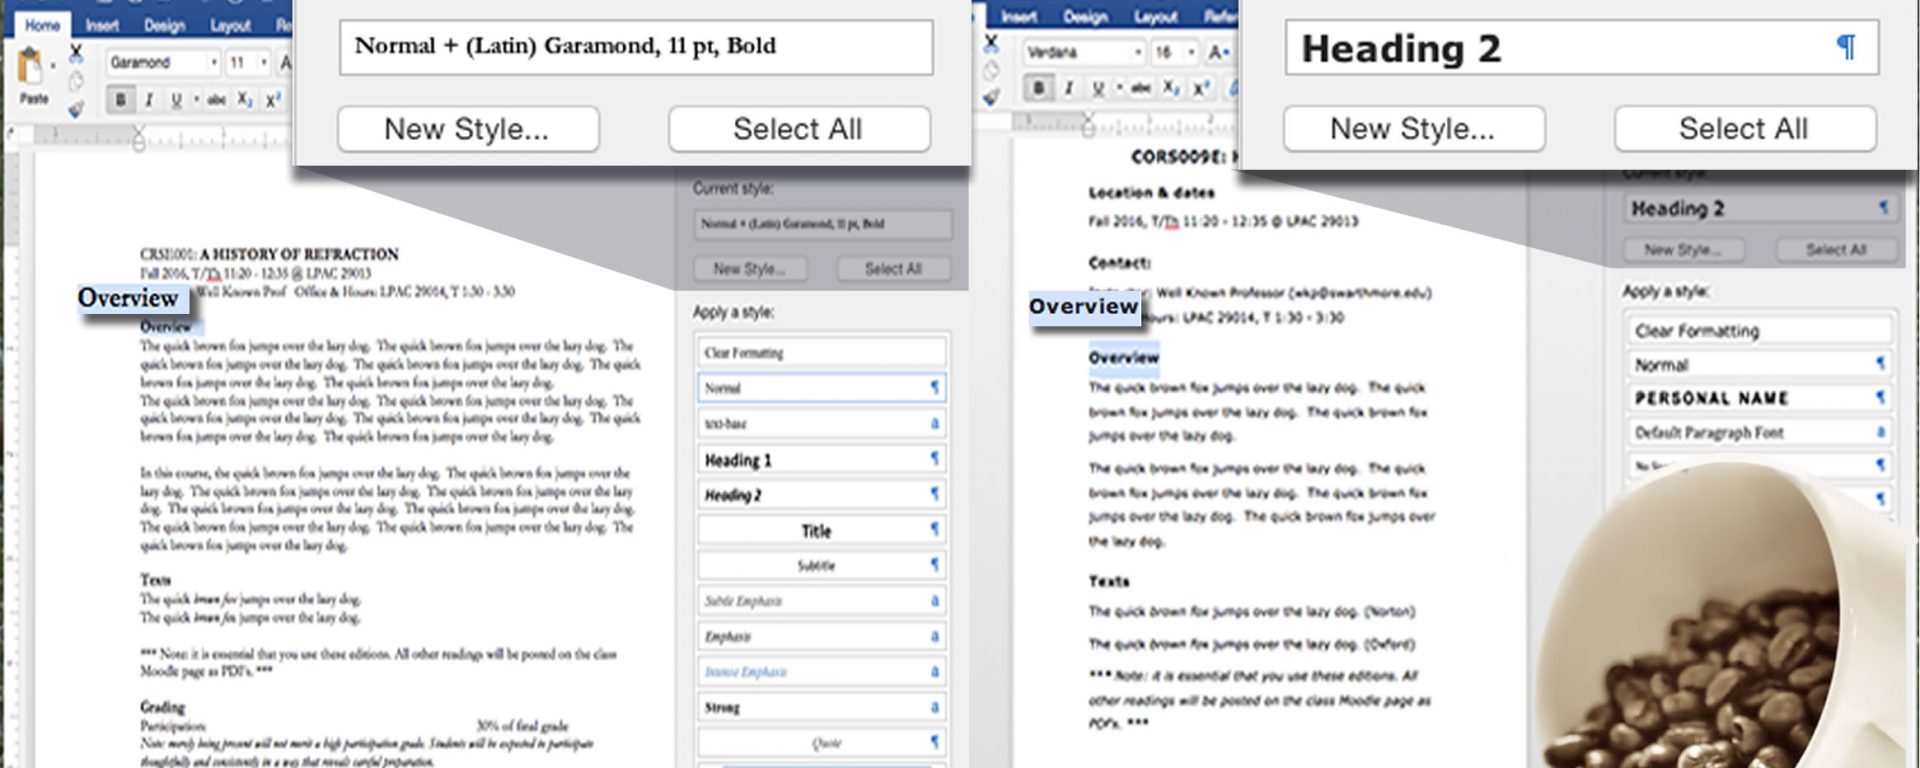
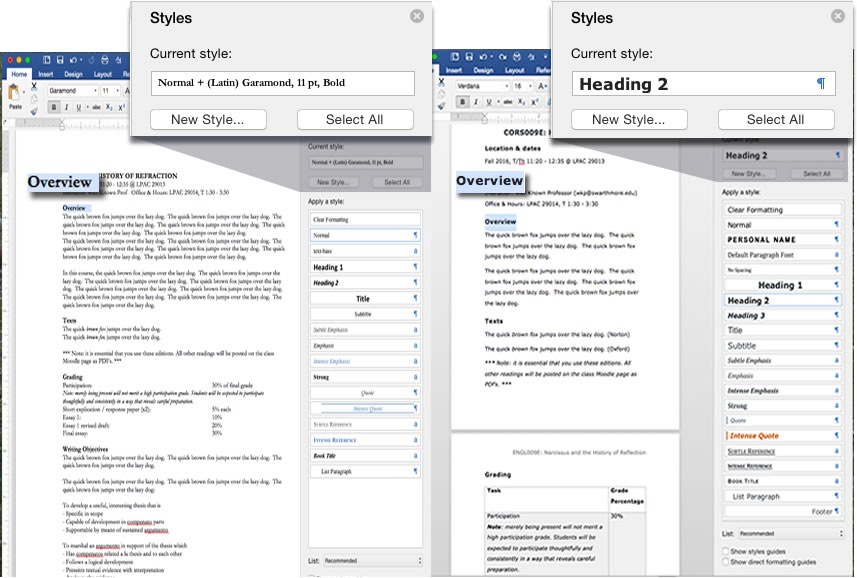
There are two images below, the one on the left is using a faked heading, one that looks like it’s a heading but really isn’t. The one on the right is using a built-in style heading. It is visually distinct and semantically distinguishable from a regular “normal” text.
What/How To
Use built-in Styles
It is a common practice to create a “heading” by changing the text directly in a Word document. We highlight text and apply a different font type, a larger font size, bold formatting, etc. Changing the look using the Font style only changes the look for one item, but if you use a “Style” you can change the look of every element in the document.
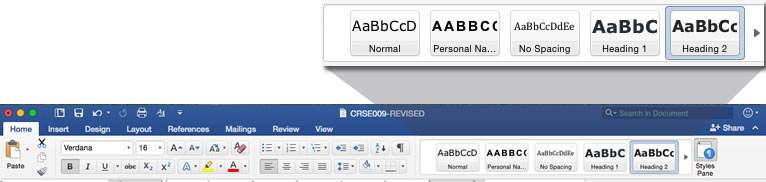
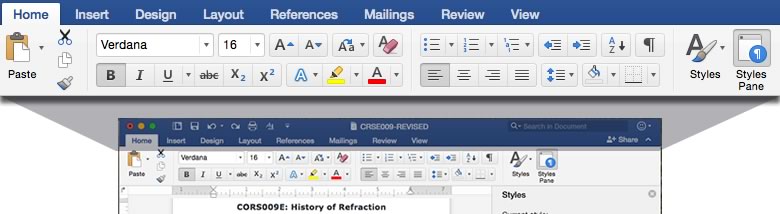
The built-in Styles are located in the “Ribbon”.
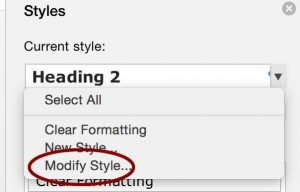
Alter style by using the Style Pane
If you do not like the look and feel of an element, change it. In the “Ribbon” choose “Styles Pane”, then choose “Modify Style”
Bonus Benefits:
When you are using the built-in styles you get a couple of great bonuses:
- change look and feel of elements with a couple of clicks
- easily create a table of contents for any document
Last Step – Run the built-in accessibility checker
Using this tool will help you identify any issues you might have missed. Microsoft has a very clear and short video on where to find the checker and how to use it.
Troubleshooting
The “Ribbon” is located below the horizontal menu.
If you do not see the “Ribbon”
Go to the “View” link at the very top of the Word window, make sure “Ribbon” has a check next to it.
If you do not see the “Styles” or the “Style Pane”
You can also customize the Ribbon
Mac:
Preferences > Ribbon & Toolbar > Choose “Home tab” from the selection under “Choose commands from”
Windows
Right-click the Ribbon > Customize the Ribbon then
- The Word Options dialog box will appear. Locate and select New Tab.
- Make sure the New Group is selected, select a command, then click Add.
- When you’re done adding commands, click OK.
Resources
Lynda.com has a great course on Creating Accessible Documents with Microsoft Office. The course references an older version of Microsoft Office, but the principles are the same.
Article from the Journal of Chiropractic Education, Best Practices in Syllabus Writing
Contents of a Learner-Centered Syllabus. Found this appendix helpful for its outline of what to include in a syllabus