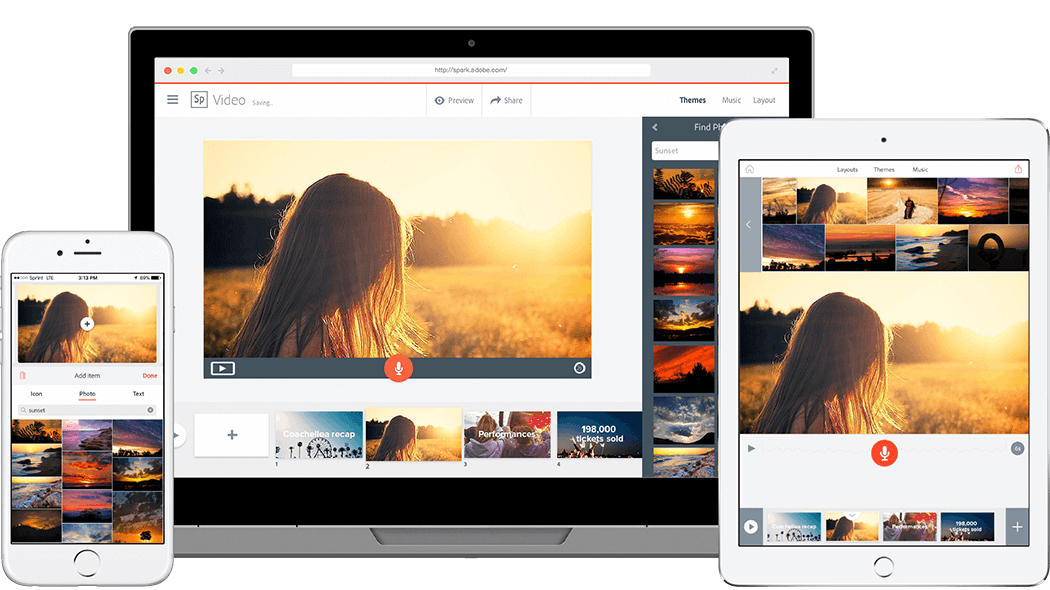
Adobe Spark is a very simple, online media production tool. It is easier to use than Adobe Premiere, iMovie, and Camtasia, but it lacks some key features like fades, dissolves, and audio editing. If you simply need to assemble and trim a few short video clips, though, it might fit the bill. Here are some instructions to help you explore the app.
- Go to the Spark page.
- Click “Continue with Google” to sign in. Use your Swarthmore credentials when prompted and Select “Enterprise ID.”
- Click the blue “+” icon in the upper left corner of the Spark menu page.
- Select “video” and skip the first prompt. Then select the orange “start from scratch” button.
- Watch the 1-minute tutorial, and begin using Spark.
Here are some notes for reference…
- Spark operates based on assembling 30-second video slides. Video clips longer than 30 seconds are clipped, but can be extended onto the next slide for seamless playback. Still photos can be added as well.
- Simple on-screen text is available, but transitions (fades/dissolves) are not.
- Custom music can be added to the video, but it is either “on” or “off” for the entire duration. This could be a pre-recorded narration track.
- Voiceover narration can also be added at any point during the slideshow. Clicking/holding the red, on-screen mic icon will begin a recording. There is no visible audio track, and audio cannot be edited (cuts, volume changes, and re-timing are not available).
- Spark offers a very straightforward interface but no media management. All videos are stored locally on your computer, and you must upload one at a time. Each upload is moderately time-consuming, but Spark’s simplicity will probably help you save time overall.
- Accepts most video formats, but some videos may not upload properly.

