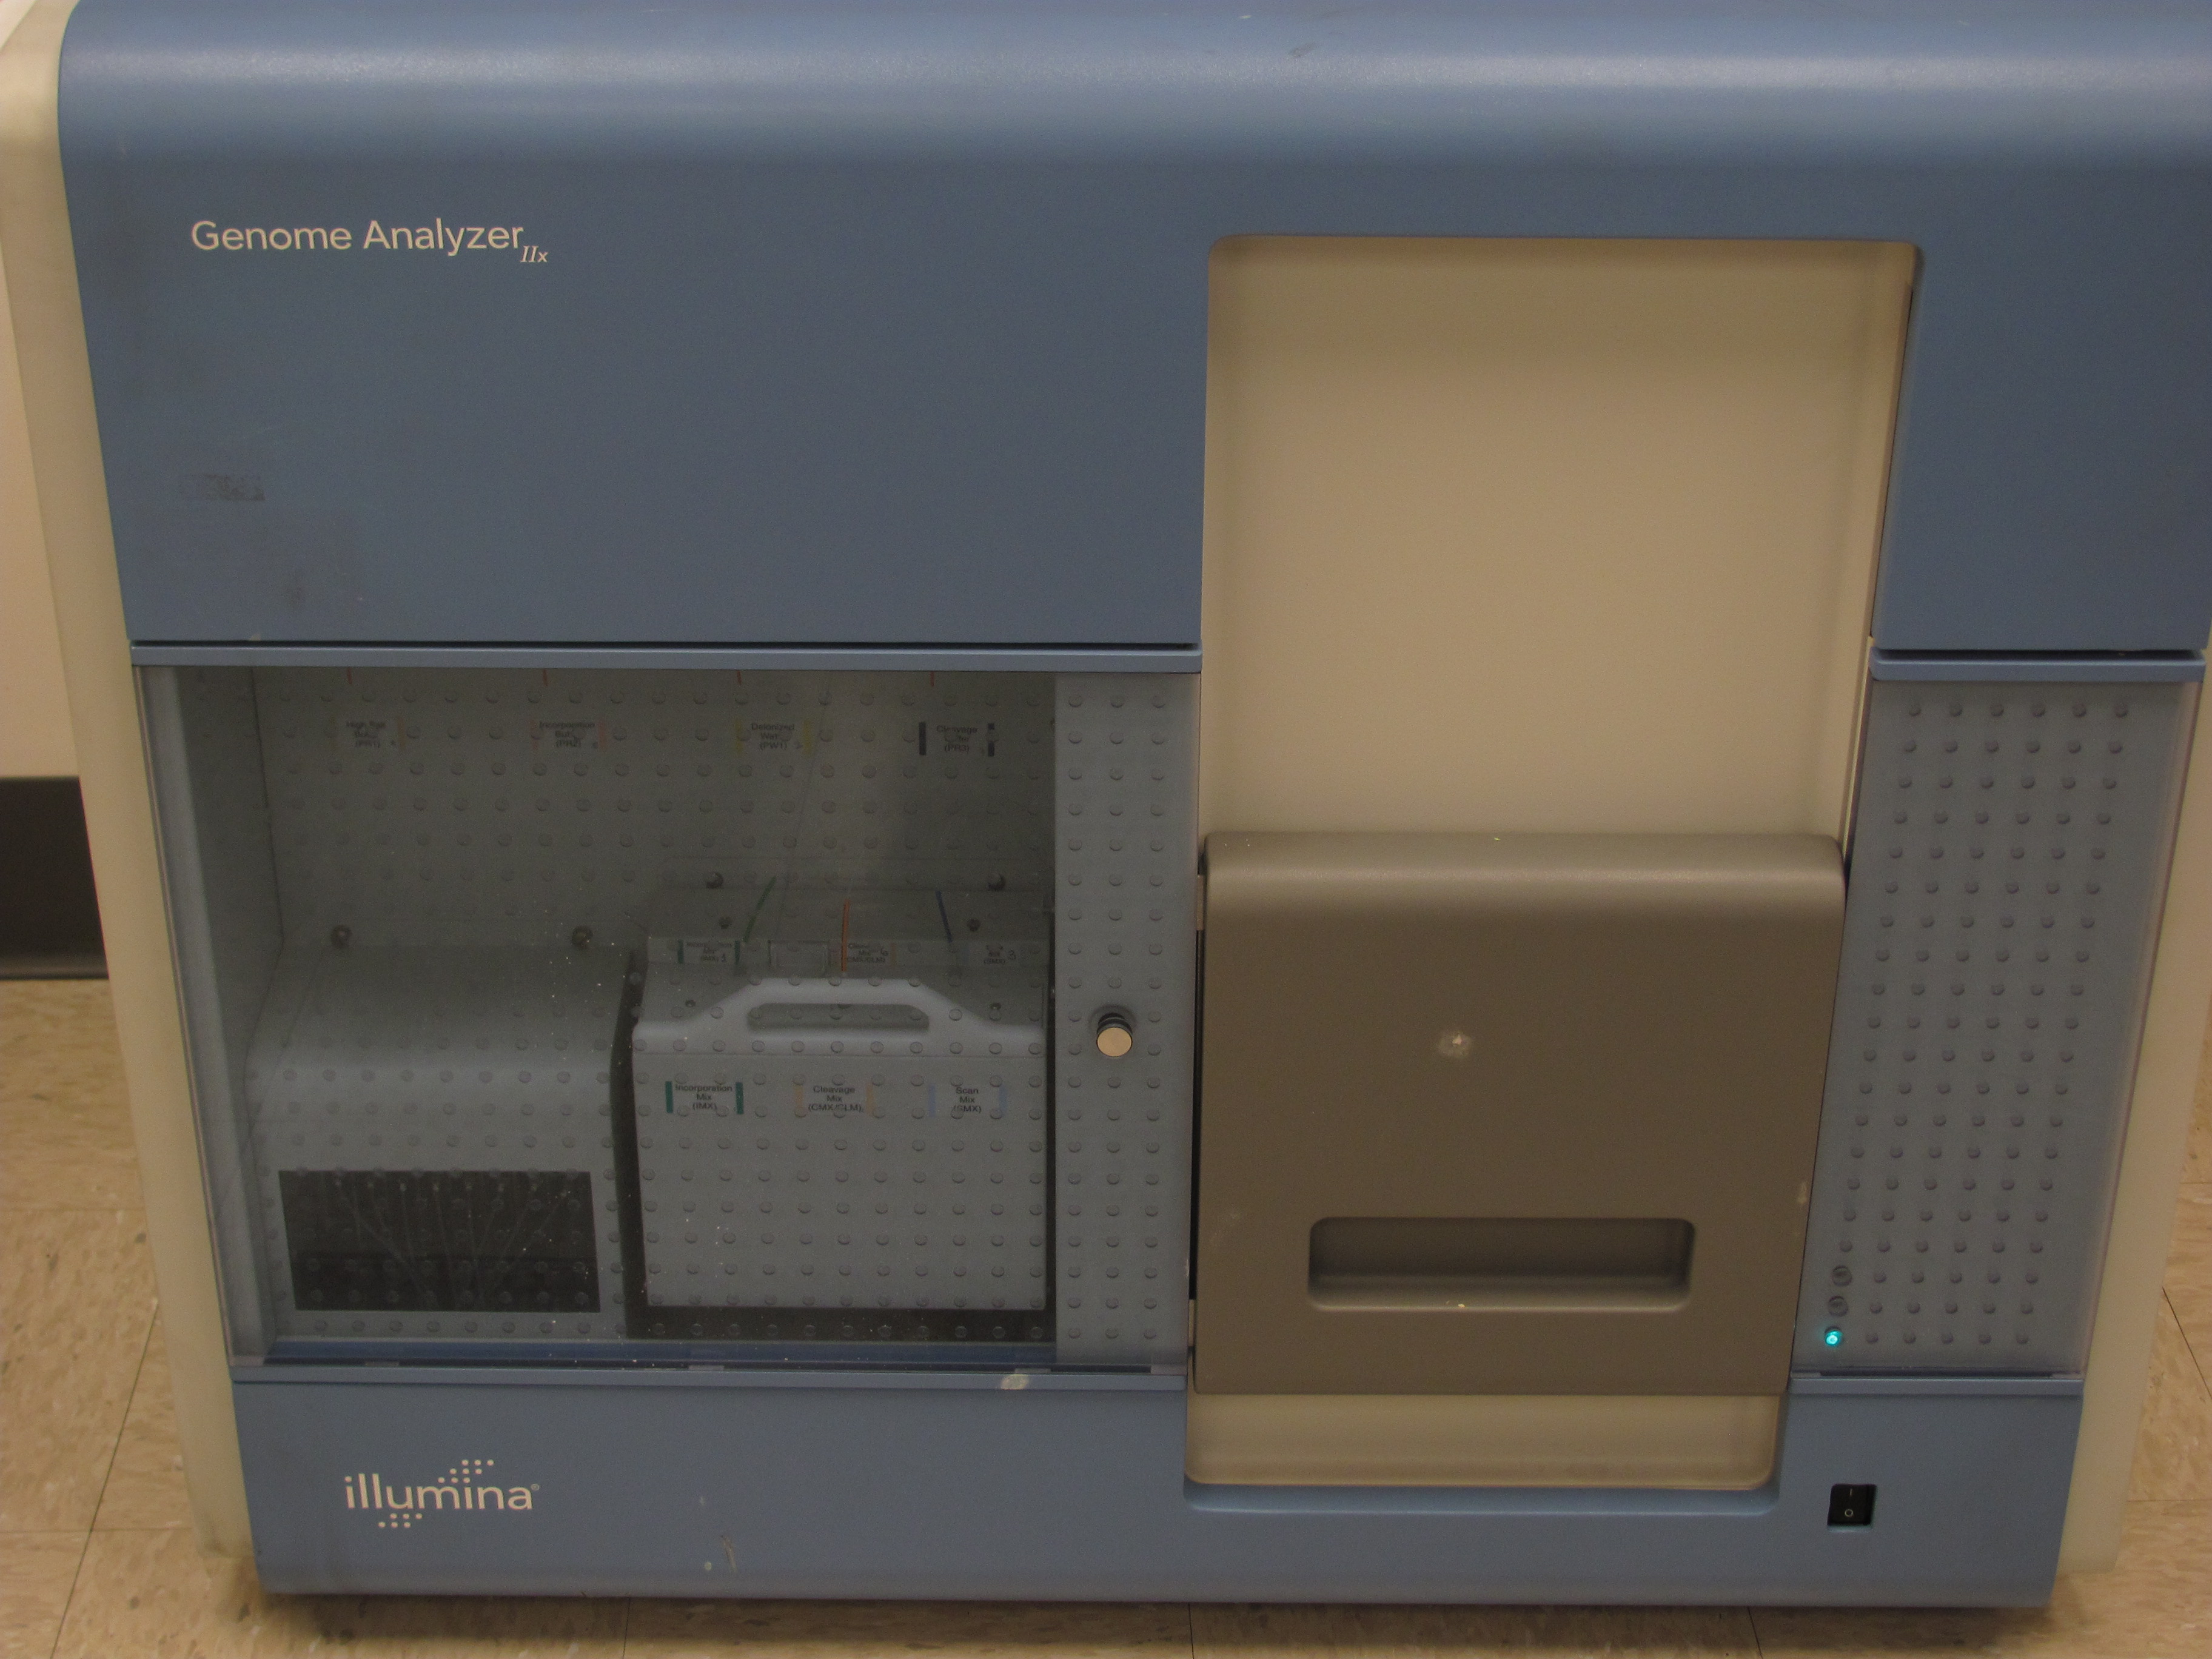
The GAIIx consists of a fully automated TIRF microscope, some fluidics, and temperature control hardware. Let’s start by considering the imaging core which can be seen behind the sliding door on the right side of the instrument.
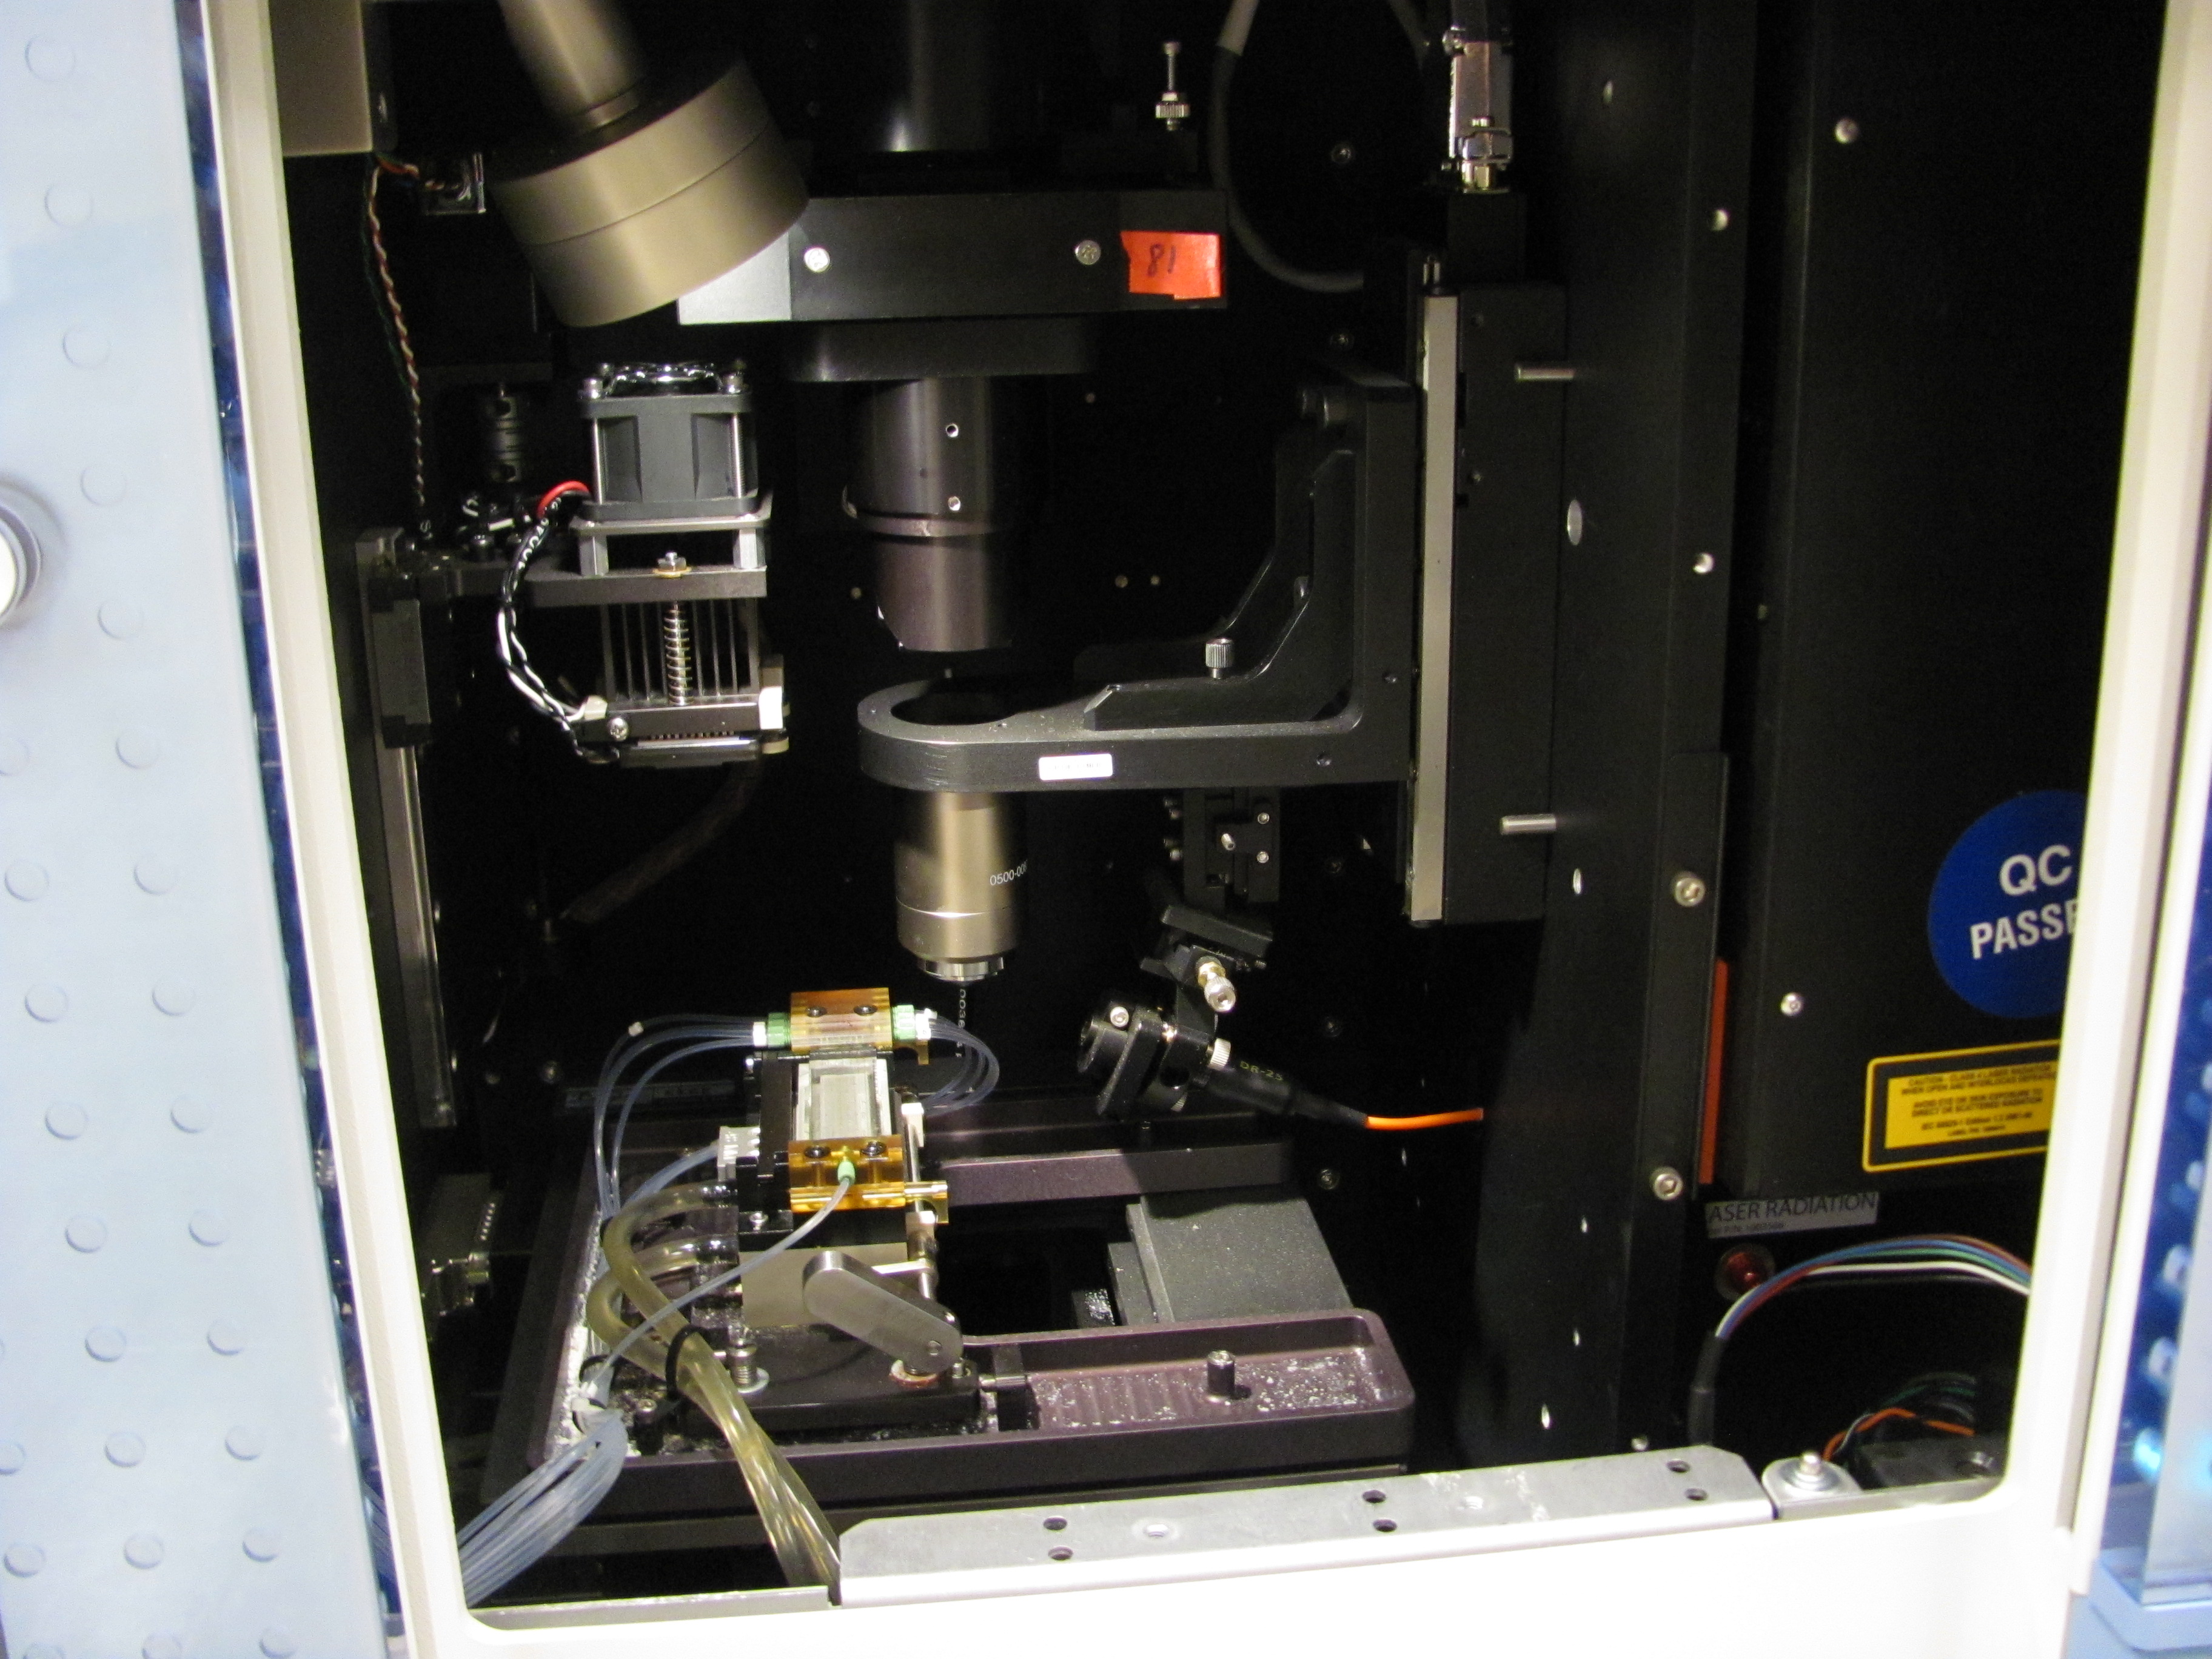
Sliding the door up reveals the imaging core. At the bottom left is the flowcell holder with fluidics and cooling lines attached. This is mounted on an ASI MS-2000 XY stage. Above this on the left is a Peltier device which can be lowered to heat the flowcell (more details about this hardware in a future post). In the center is the microscope. It consists of an OEM labeled Nikon CFI Plan Apo VC 20X Air 0.75 NA UV enhanced microscope objective (labeled 0500-0087. These are the specifications from Ebay auctions – I have not verified this) and the TIRF laser coming in on a fiber optic (orange) with a focusing lens mounted on an L shaped bracket. The bracket is bolted onto an ASI LS-50 linear stage which provides focus control. Next is a dicroic for the focusing laser and above that is an infinity-corrected tube lens (Thorlabs ITL2000).
Next comes an ASI FW-1000 filter wheel (8 position, accepts 25mm filters. It is labeled with red tape and the number 81 in the picture) and completing the microscope and not visible in this picture (see below) is a Photometrics Coolsnap K4 camera. To use the camera you will need the PCI card (01-490-00x) from the computer that came with the sequencer and the LVDS data cable (37-071-001 ) which connected the sequencer to the computer. These can be found separately on Ebay or bought directly from Photometrics.
The ASI stage is controlled by a LX-4000 controller which will be uncovered in a future post when I’ll start to take the sequencer apart. The ASI stages and filter wheel and the Coolsnap camera can be controlled by Micro-Manager open source microscopy software right out of the box – it is plug and play (in Windows XP).
To date we have not succeeded in getting the camera to work on a 64 bit system or reliably using Windows 7 and Micromanager using the PCI card which comes with the sequencer. Photometrics wants $1,600 for their newer PCIe LVDS card which should allow the camera to work with their newer software on a modern 64 bit system. The ASI stage and filter wheel work with any OS as they are controlled through a serial port connection.
As a preview of what is coming next, here is a picture of a GAIIx imaging core built up into the RootScope II. Unlike the first Rootscope which was built using these parts bought separately, the Rootscope II takes advantage of the extremely rigid frame contained in the GAIIx which nicely aligns the optical train and the camera. As you can see, by buying a whole instrument you get a fully functional automated microscope out of the box. Because it contains a tube lens and infinity objective you can add any components you want if the original setup does not provide the functionality you need.
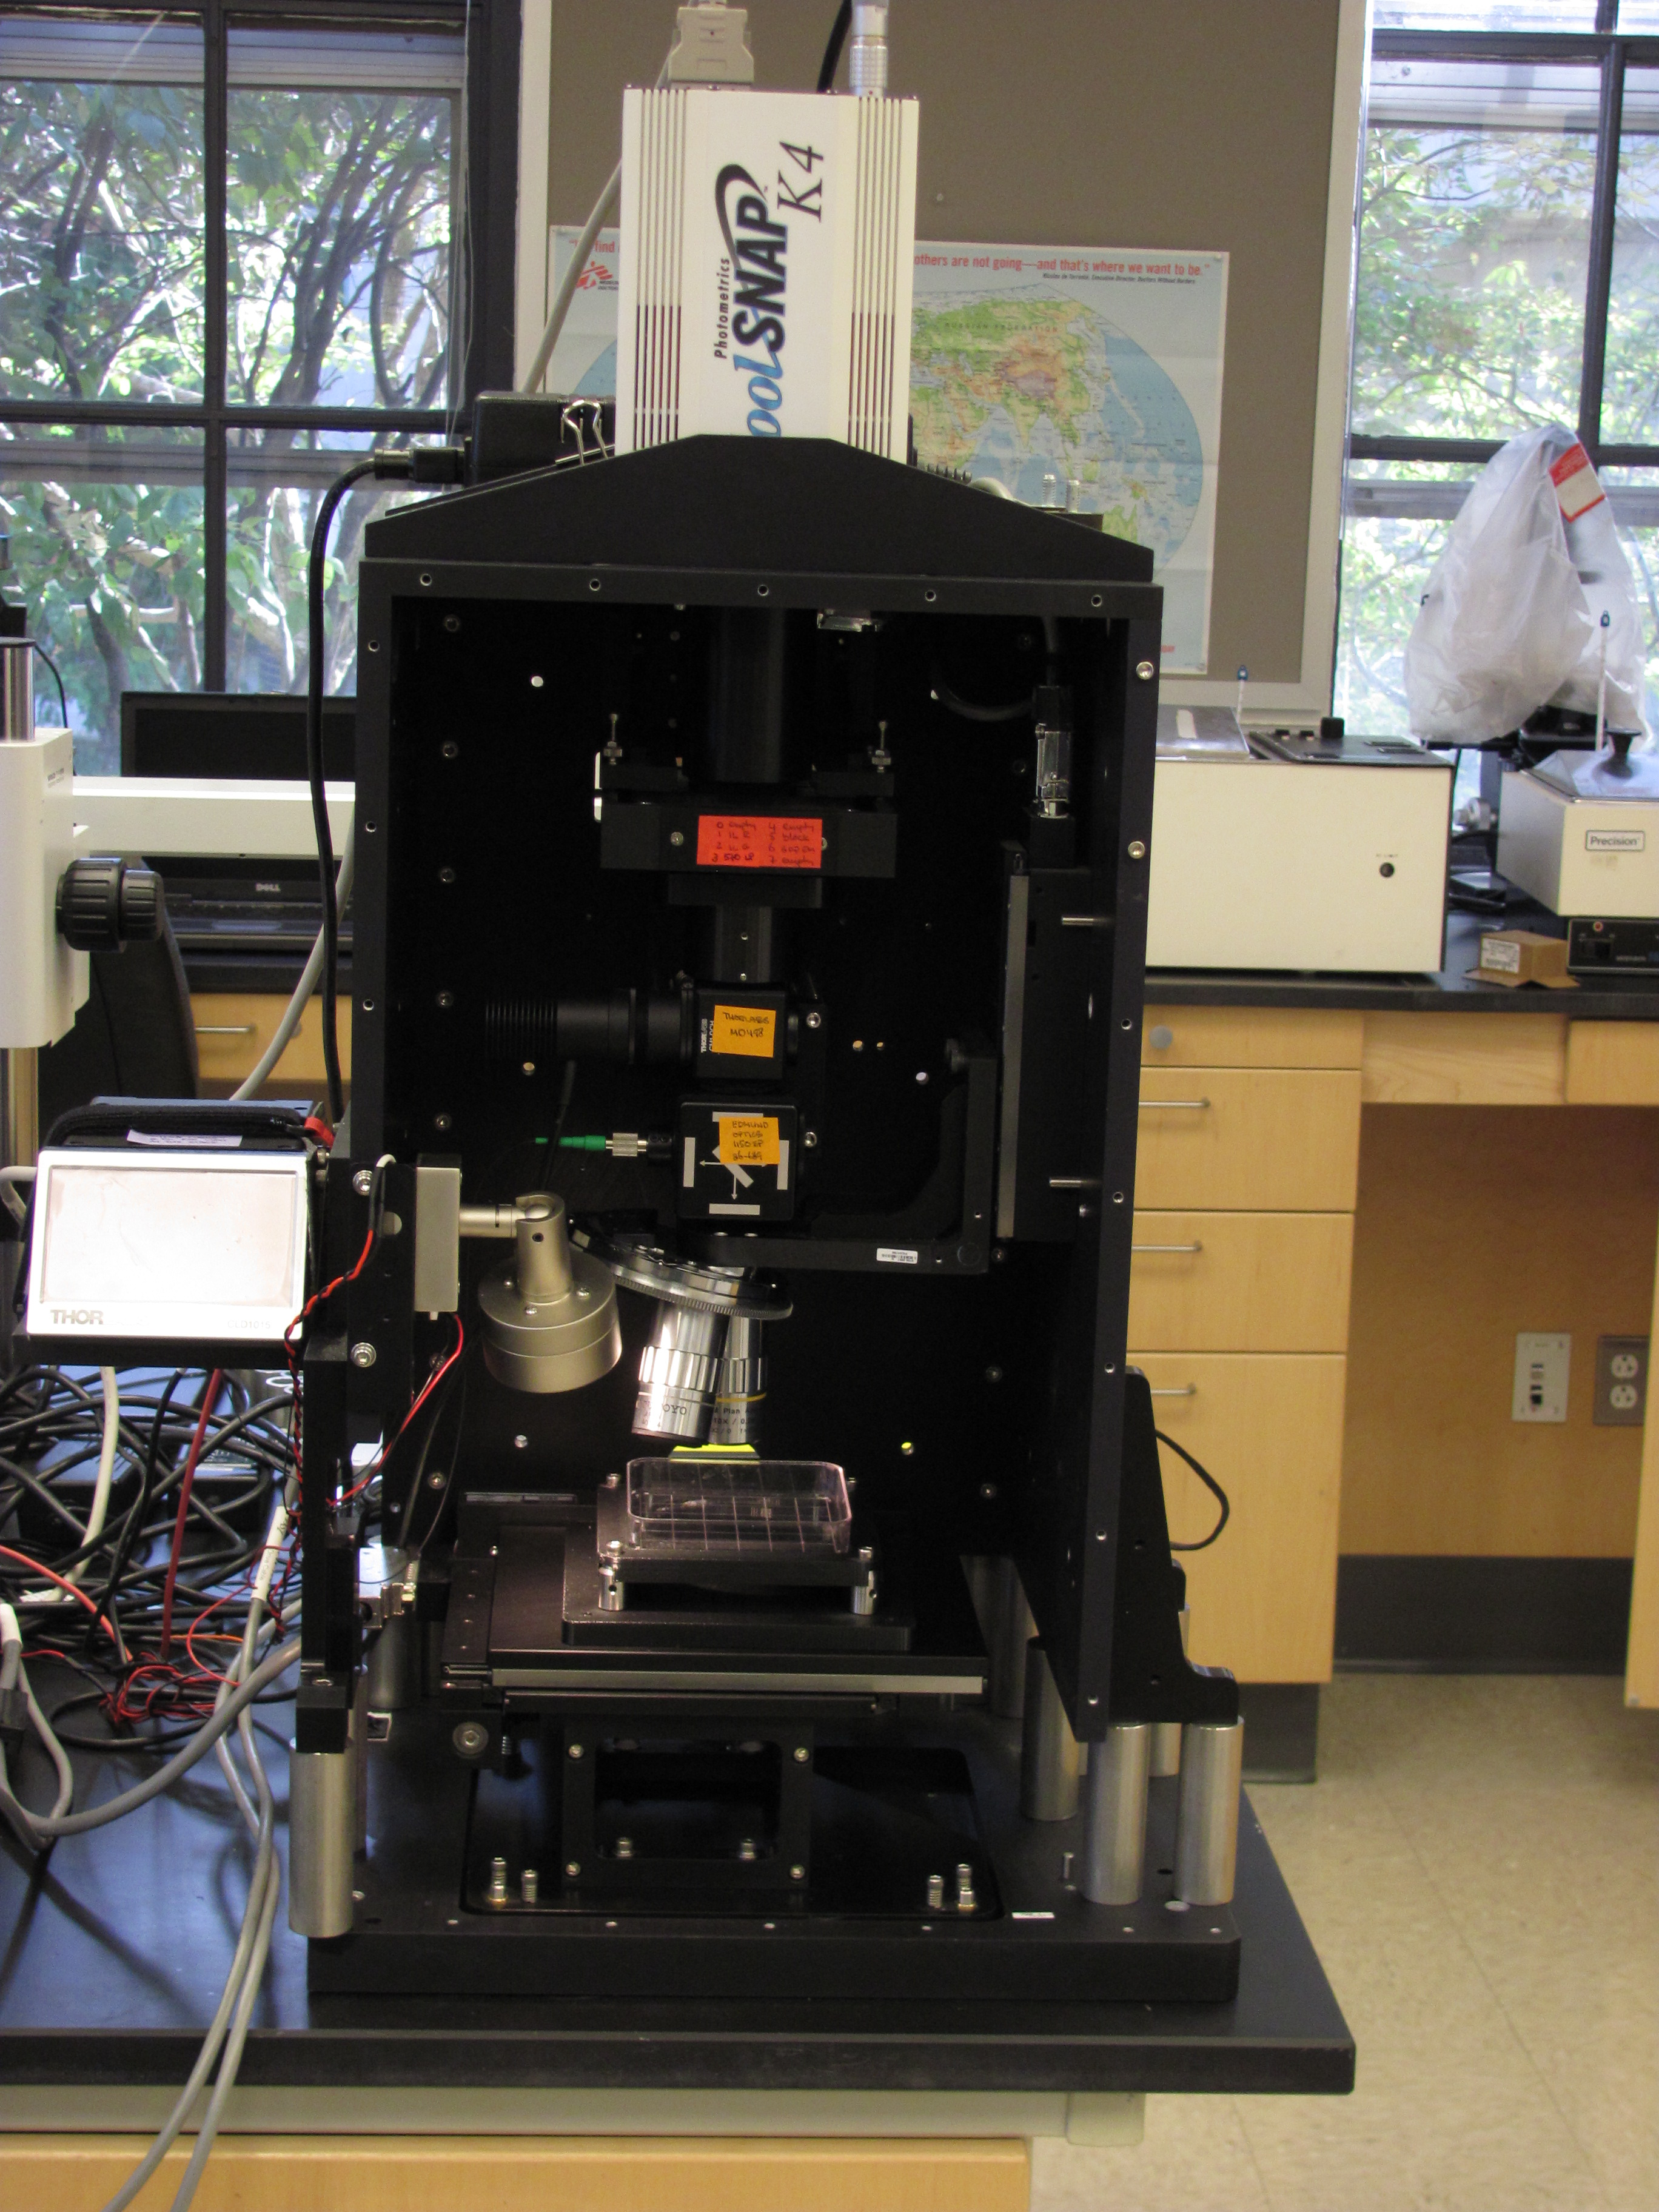
In the Rootscope II we have jacked up the frame like a monster truck to make space for adding optics between the objective and the tube lens. The Nikon objective has been replaced with a turret and Mitutoyo infinity-corrected long working distance objectives. We have also removed the flowcell holder and associated fluidics as well as the focusing laser dichroic to make room for two Thorlabs dichroic cubes, one for the LED excitation source and one for a 1470nm IR laser we are using to heat small groups of cells. 3D printed mounting plates are used to mount these parts into the GAIIx frame – I’m happy to share the design files if they might be useful.

In my next post I’ll open up the box and provide a close up look at the other parts inside including the stage controller, the lasers (a Laser Quantum GEM 500mW 532nm and a Melles Griot 85-RCA-400 660nm 400mW, both fiber coupled), and the fluidics system.
I love the idea of using the parts beyond just a simple teardown. Could you explain more about what you’re repurposing the parts for?
Thanks!!
Tito
See the links in the November 4th post for two examples of how this hardware can be re-purposed.
Hiya Nick — Brilliant project. Best of luck with the build; I can’t wait to see the images. Cheers!
Any luck getting it to work on Windows 7? Is it possible with the original PCI card?
Jon –
It’s been a while since I played around with this. I’m pretty sure that I got the camera working in 32 bit Widows 7 with the original PCI card and Photometrics’ software. I never got it to work with Micromanager in Windows 7 though.
Think you may know, folks at BioCurious in Sunnyvale, CA, are doing something similar. They have got it to take single images.
Eric Harness is leading the effort.