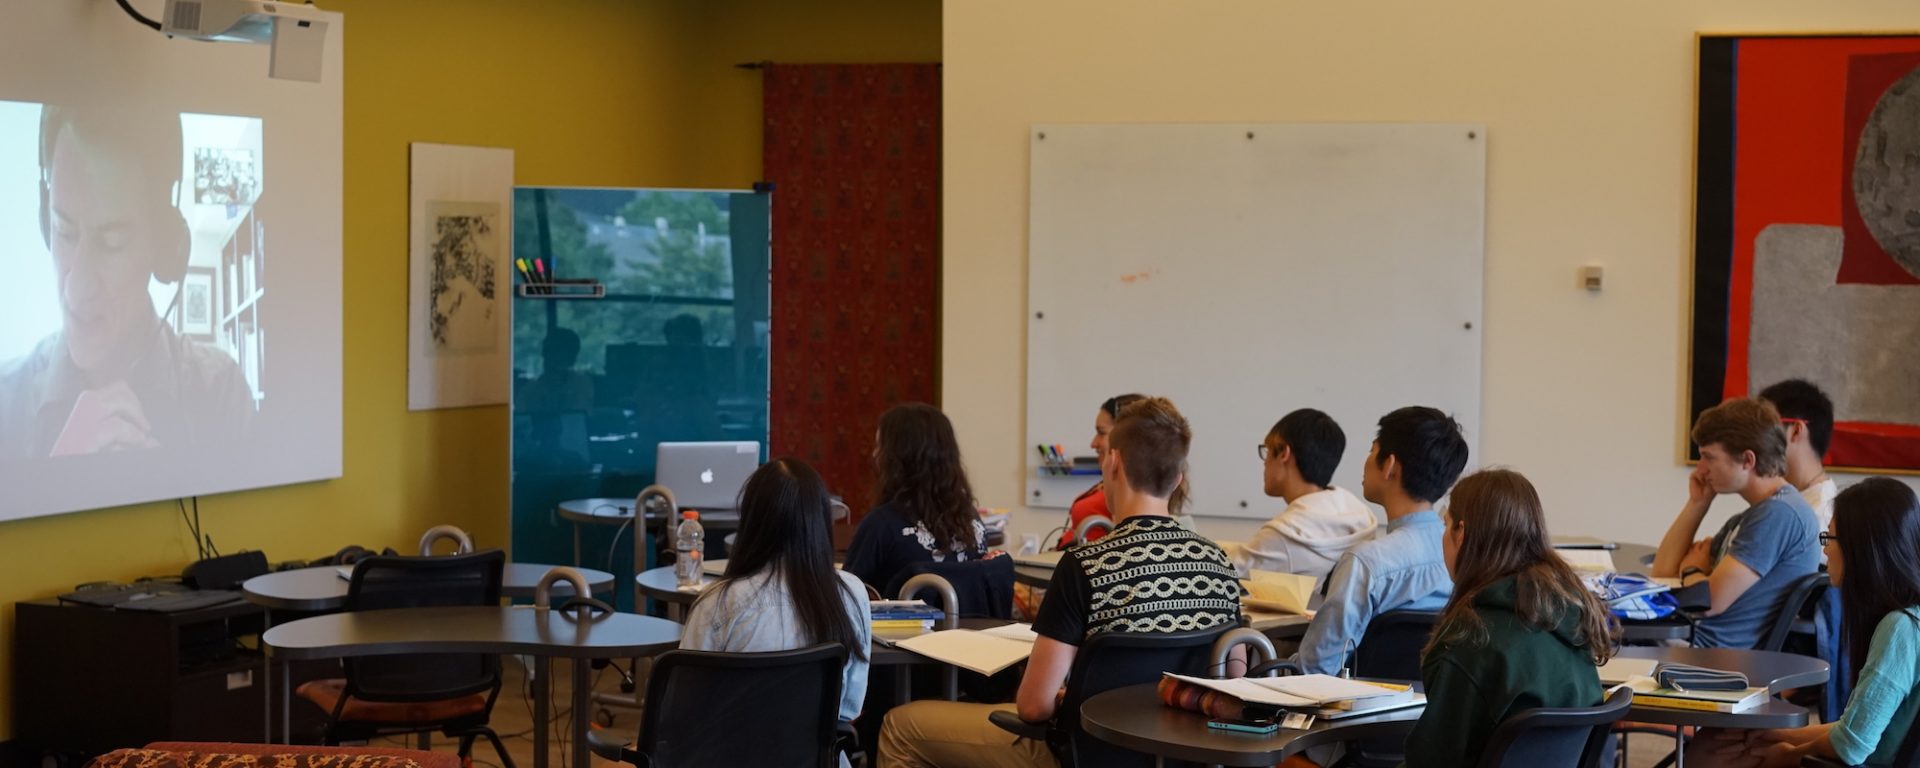
With recent inclement weather restricting travel to campus for some of our community we found ourselves exploring a variety of distance learning resources. One of the technologies already available to all Swarthmore faculty, staff and students is Zoom video conferencing, and thus makes it a truly accessible and easy to implement distance learning tool for teaching. So what is Zoom?
“Zoom is a web-conferencing solution that provides both video conferencing and screen-sharing capabilities. Its high-quality and easy to use format has made it a great solution for Swarthmore College’s web-based video and audio conferencing services.”
(From: http://www.swarthmore.edu/its/zoom-video-web-conferencing)
With a little planning and little preparation Zoom video conferencing can be a great technological solution for remote teaching due to planned travels for conferences or the occasional blizzard. Below, we have provided some tips to help you develop your next remote teaching video conference.
Zoom Documentation and Troubleshooting
Zoom Documentation – https://support.zoom.us/hc/en-us
Teacher guide from U. Ottawa – http://tinyurl.com/u-ottawa-teacherguide
Participant guide from U. Ottawa – http://tinyurl.com/u-ottawa-studentguide
Global Advice
- Prepare students for what you are going to cover, what technology you’re using and what they should do in the event of problems.
- Encourage students to find a quiet space in which to participate where they won’t be interrupted and where background noise won’t distract other people if they are asked to contribute.
- Have a solid outline/lesson plan with activities and backups. Anything you intend to present to students should also be available where students can access the material (or alternate material) independently (powerpoints, audio, video, web sites etc.). You can make this material hidden if you like and make it available only if you’re unable to present it.
- Have a backup plan in case the technology fails you … perhaps some material and a worksheet available on moodle … a discussion activity etc.
- In the event of audio or video problems where should students go to find out what to do next? Chat window? Email? Make this clear to students ahead of time.
- Be careful how you use the chat window. It can be used for comments/questions as class goes along, but understand that you won’t be able to see this window if you’re in a PowerPoint presentation. (New messages within the chat window are indicated by a utility bar drop down, and the number of messages will be signified over the “more” tab)
Be clear, concise, and comprehensive.
Everything has to be there. You can’t walk in as an instructor and ad lib the session like you might in the face-to-face classroom. It has to be very organized. Logical flow, clear instructions, and accurate placement of content. You don’t want students to be frustrated because things aren’t where they’re supposed to be.
Provide a manageable amount of content.
It’s important to consider how much work is reasonable to expect of students while at the same time ensuring that you’re covering the necessary content.
Provide a variety of learning activities.
Consider which types of activities are appropriate and how you might offer different types of assignments to make the course more interesting and engaging for the students. Don’t try too many types of activities in one session, in order to minimize the chance of technical problems and confusion.
Avoid making last-minute changes.
Making changes can have unintended consequences such as inconsistent information. This can create confusion for the students and it may be more difficult for you to recognize their confusion online. It may also take more time for you to explain things.
How to connect to your session
- Connect directly to the fastest internet connection available.
- Avoid wireless if at all possible.
- Close email and IM programs not being used for the presentation.
Screen sharing tips
- Remove any photo backgrounds on your computer desktop.
- Close Email and other programs you aren’t using as part of your presentation. Avoid embarrassing pop-ups.
- Don’t crowd the view. Make sure to have one application visible at a time.
- If you need to switch between other applications, have them open and ready to demonstrate.
- Turn off your computer’s “sleep” function–especially if a re-login is required.
- Remember to maximize your screen (click Full Screen) in Web demos.
Audio
- Use a quality headset.
- No speaker phones. They cause voice fluctuation and embarrassing background noise.
- No wireless microphones.
Engaging your audience
Do a “dry run” with the same computer/audio equipment and internet connection you will use on the day of your class.
- Ensure adequate time to troubleshoot equipment. For instance: Make sure your audio and video settings are correct for your camera and microphone.
- Keep a timer and put time markers in your lesson plan to keep you on track.
- Activities may take more (or less) time than they would in a face-to-face class. Perhaps have materials, or discussions you can include or drop depending on how class is going.
- Do a dry run at least 48 hours before the live event.
- Open your meeting room 10-15 minutes before start time. Participants like to know they have accessed the Zoom session correctly.
Record your session in case anyone has technical problems, or for later review. You can choose later whether or not to post, or share the session.
- Click record … recordings are saved when you leave or end the meeting.
- You’ll find recordings in your Documents folder > Zoom > “meeting name” in both audio and video formats.
Some of this material was adapted from:
https://helpx.adobe.com/adobe-connect/kb/best-practices-hosts-presenters-using.html
http://www.facultyfocus.com/articles/online-education/six-tips-preparing-online-course/

